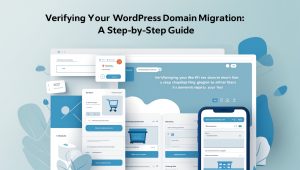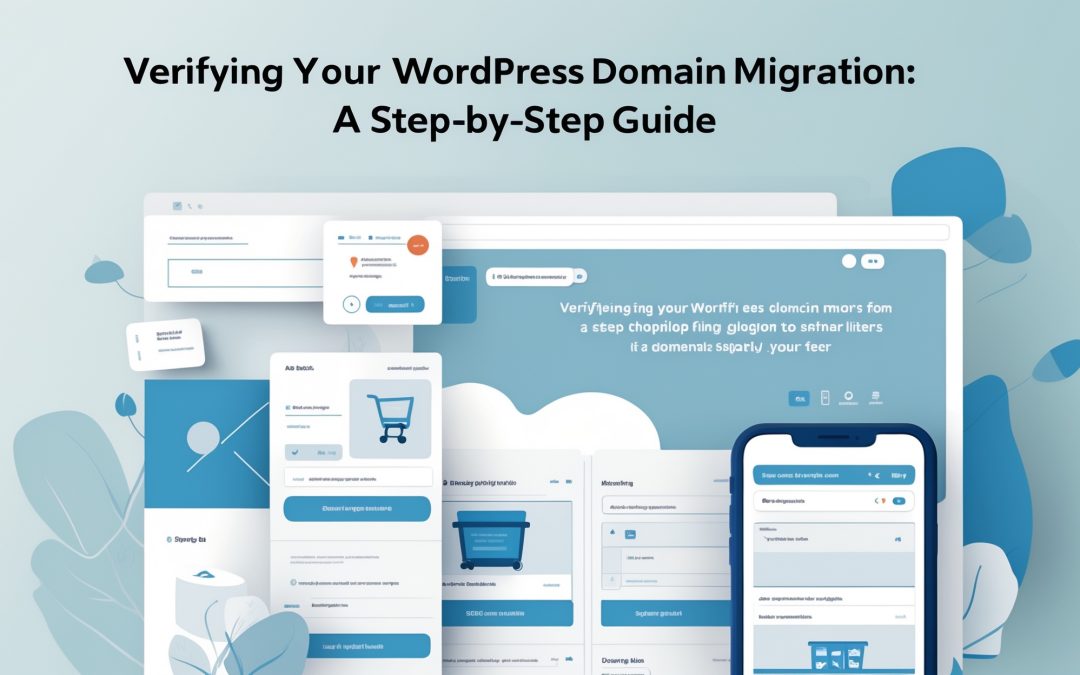
How to Verify Your SEO Is Intact After a WordPress Domain Migration
Changing your domain name is like stepping off a cliff and hoping the ground below is still there. Many a WordPress site owner has looked down that abyss with a mix of dread and determination. Done right, you can preserve your hard-won search rankings; done wrong, you might as well set the SEO efforts of the past month—or year—on fire. In my years of exploring this digital wild west, I’ve seen it all.
I know the feeling when you meticulously check every box, only to discover weeks later that something essential has fallen through the cracks. Missing redirects, stale canonical tags, or sitemaps pointing to the old site can wreak havoc on your search rankings. But fear not; I’m here to guide you through a rigorous, step-by-step verification process to safeguard your SEO during and after a domain migration.
Why Domain Migrations Put Your SEO at Risk
When you change domains, Google leaps into action like an eager puppy chasing after frisbees. But instead of just fetching, it has to discover your new URLs, assess your 301 redirects, and evaluate your content. All of this takes time, and any misstep can lead to substantial SEO losses. Common pitfalls include:
– **Broken or Missing 301 Redirects**: Without these, Google sees your new domain as a shiny new site without a track record. Your old authority? Kaput.
– **Stale Canonical URLs**: If your pages still point to the old domain as the ‘official’ version, you’ll discover that your new URLs may wallow in obscurity.
– **A Sitemap Referencing the Old Domain**: Your sitemap is essential for guiding bots through your new content. An outdated sitemap is like sending a parcel to the wrong address.
Fortunately, all of these issues are fixable! The steps outlined below will ensure you cover all your bases.
Step 1: Build Your Pre-Migration SEO Baseline
Before you even think about hit “migrate,” you must gather your troops—your data. This is your pre-move snapshot, a chance to catch the current state of your SEO performance before any variables change. Here’s how I do it:
– **Export Your Keyword Rankings**: Using Google Search Console or All in One SEO’s Elite plan, export your keyword positions, clicks, and impressions. Store this crucial CSV in a dedicated migration folder, as it will serve as the benchmark for your analysis in the weeks to follow.
– **Crawl and Document Current URLs**: Tools like Screaming Frog SEO Spider can be invaluable here. Export a complete list of your existing pages—missing any means missing redirects later, which ultimately leads to lost rankings.
Keep that data safe because we’re going to revisit it later.
Step 2: Migrate Your Site with Duplicator
When it comes to migration, I swear by Duplicator. It’s like the seasoned mechanic who knows how to tune up every inch of your digital engine. After installing Duplicator, make sure to check your WordPress settings to ensure your new domain is reflecting correctly.
Before you think that’s all it takes, confirm that your `robots.txt` file doesn’t come laced with restrictions blocking the new site.
Step 3: Set Up 301 Redirects from Your Old Domain
I can’t stress this enough: 301 redirects are your bread and butter. They signal to Google that your old URLs have moved to new ones. Think of it as your digital ‘Change of Address’ form. If you don’t set them up, Google won’t pass your authority from the old domain to the new one, and all that hard work could dissipate like mist under the morning sun.
Use All in One SEO to set up a full site redirect. One swift touch and you’re covered.
Step 4: Register Your New Domain in Google Search Console
Treat your new domain like royalty—because Google will. It must be verified, and a change-of-address notification submitted to signal that this is the realm where your SEO authority now resides. Complete these vital steps to avoid unnecessary turmoil.
Step 5: Verify Canonical URLs Are Correct
Only a fool overlooks the canonical URLs after a migration. They can mislead Google to rank pages that don’t deserve it. Check your global canonical settings in All in One SEO and then spot-check the most vital pages on your site.
If something’s off, don’t panic; simply update the canonical URL field and save.
Step 6: Fix Database URLs, Mixed Content, and Broken Links
Step into the world of nitty-gritty details. After migration, you must ensure that all assets are pulling from your new domain. Run a plugin like Search & Replace Everything to catch any lingering URLs fighting to cling to the past.
And if you encounter mixed content errors—broken padlocks by your site’s URL—address those as well.
Step 7: Monitor Ranking Recovery with AIOSEO and MonsterInsights
As with any journey, the recovery phase is fraught with changes and fluctuations. By week 1, expect chaos as Google’s crawlers get familiar with your new landscape. By weeks 4 to 8, however, many sites see recovery rates of 80-100%.
Use AIOSEO to track keyword performance, while MonsterInsights offers a clearer picture of user traffic. Make a note of any significant dips in traffic—are they reflective of real issues or just the typical ebb and flow?
Your Roadmap Ahead
So, there you have it—a detailed guide to navigating the tempestuous waters of domain migration without